As a tool manufacturer, we have always been highly focused on quality. Everything that leaves our factory must be carefully checked before it is ready to go into production. The quality assurance process takes place in several stages, partly through simulation, partly through measurement. Simulation is mainly used before the tool has taken physical form, while measurement is used afterwards.
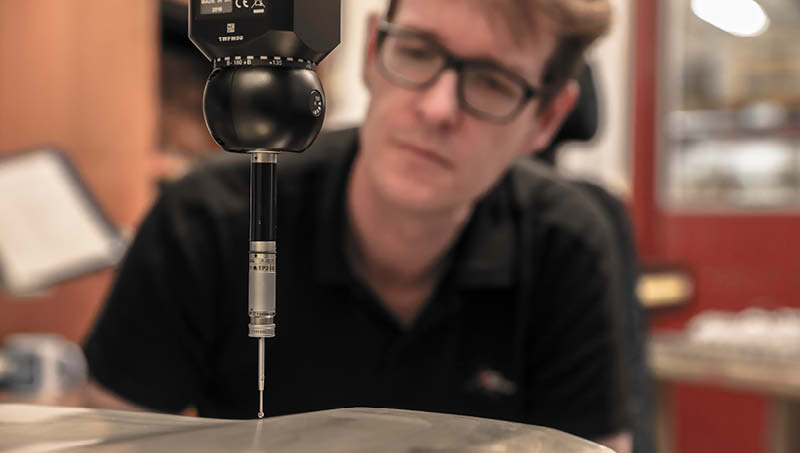
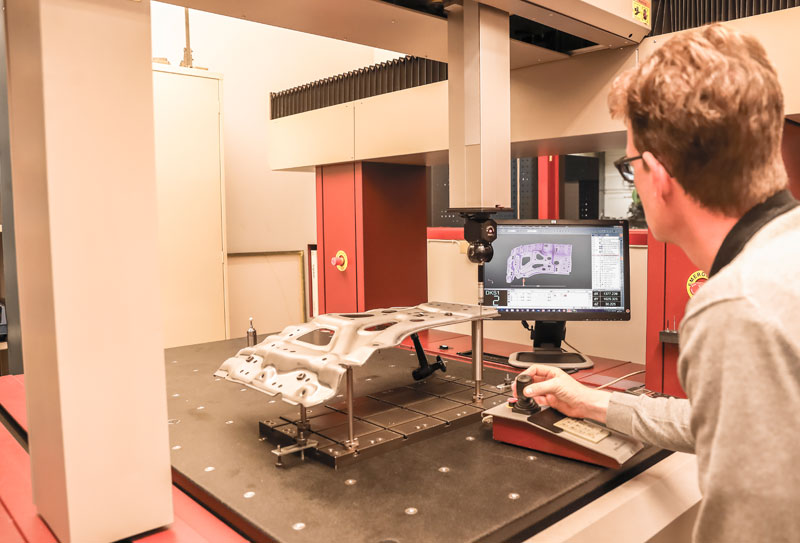
By using 3D measurement, we can ensure that the tool and the tool-produced sheet metal part have been manufactured correctly and that they match the CAD model. A measuring machine works by measuring three-dimensional points in X, Y, and Z coordinates. These points and coordinates are compared to the CAD model and create a digital representation of the physical object. When the measurement is within the specified tolerance limits for the tool-produced sheet metal part, a check is made that the tool has been correctly manufactured and assembled.
At Lidhs Tooling, we have two measuring machines, the largest of which has a working area of X=1,000 mm Y=1,500 mm Z=800 mm. If you require measurement, we offer help with external 3D measurement and programming in Metrolog’s software.


